


This guide is part of the Microsoft OneNote series
1.
How to add a password to a Onenote section
2. How to add data as a printout in Onenote
3. How to add sections to a notebook in Onenote
4. How to create a 2013 Onenote notebook
5. How to create a note with a template in Onenote
6. How to insert an image in a 2013 Onenote notebook
7. How to send notes to share in Onenote 2013
8. How to take screenshots with Onenote
9. How to translate text in Onenote 2013
10. How to use OneNote
Make: Microsoft
Model / Product: Onenote
Version: 2013
Objective / Info: To teach how to take screenshots in Onenote.
Model / Product: Onenote
Version: 2013
Objective / Info: To teach how to take screenshots in Onenote.
1
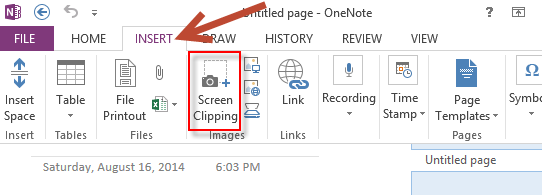
Select insert, then screen clipping.
Note :
Your previous screen will appear looking hazy.
2
Take a full page Screenshot or crop out a section of it.

3
Use crossbars to enclose your selected area,then release the mouse.

4
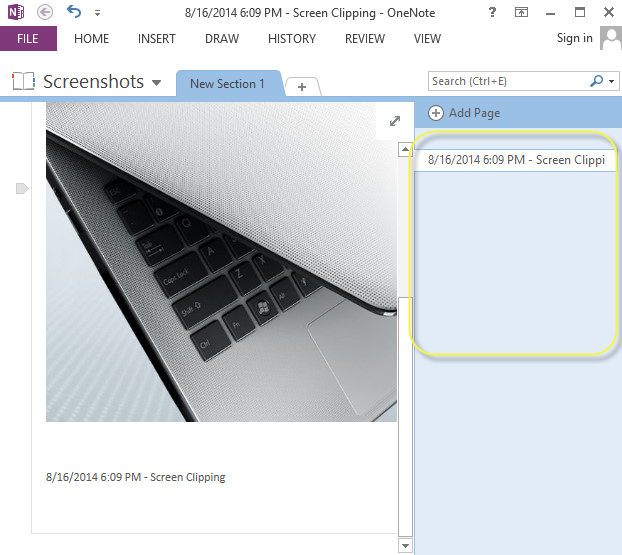
Right clip on the image to save it to a different location.
Note :
Image will be saved in Onenote in a side bar for future use.
5
This task should now be complete. If not, review and repeat the steps as needed. Submit any questions using the section at the bottom of this page.comments powered by Disqus
 Ask a question or provide an answer