


This guide is part of the Skype series
1.
Download and install Skype on a Android Tmobile G2
2. How to add people to your Skype contact list
3. How to download and install Skype
4. How to make a free Skype call
5. How to make a free Skype call on the G2
6. How to setup Skype
7. How to use Skype
2. How to add people to your Skype contact list
3. How to download and install Skype
4. How to make a free Skype call
5. How to make a free Skype call on the G2
6. How to setup Skype
7. How to use Skype
Make: skype setup
Model / Product: Windows PC
Version: 4.2.0.169
Objective / Info: Complete Skype setup following a successful installation and first time use. See the "How to download and install Skype" guide above or installation.
Model / Product: Windows PC
Version: 4.2.0.169
Objective / Info: Complete Skype setup following a successful installation and first time use. See the "How to download and install Skype" guide above or installation.
1
Launch Skype by clicking the icon on the start menu or desktop.
2
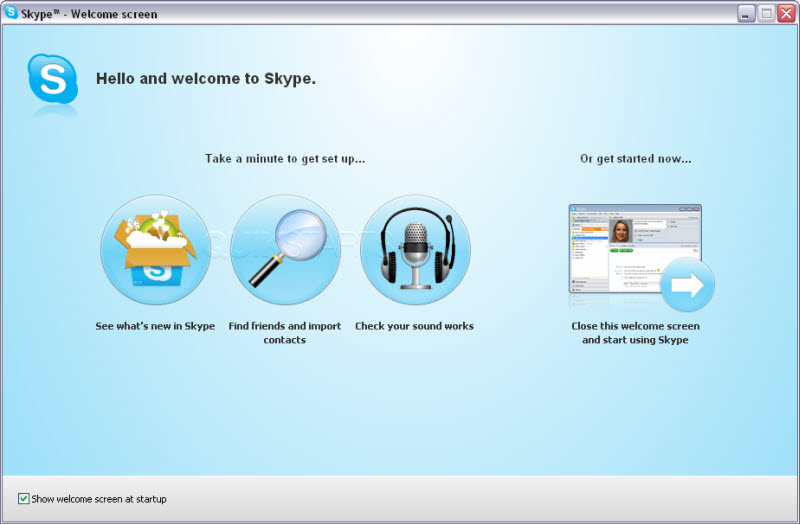
You may see the welcome screen. If you do not see the welcome screen, click the "Help" option on the menu then press the "Welcome Screen" option.
Note :
The welcome screen can also be seen following an installation of Skype.
3
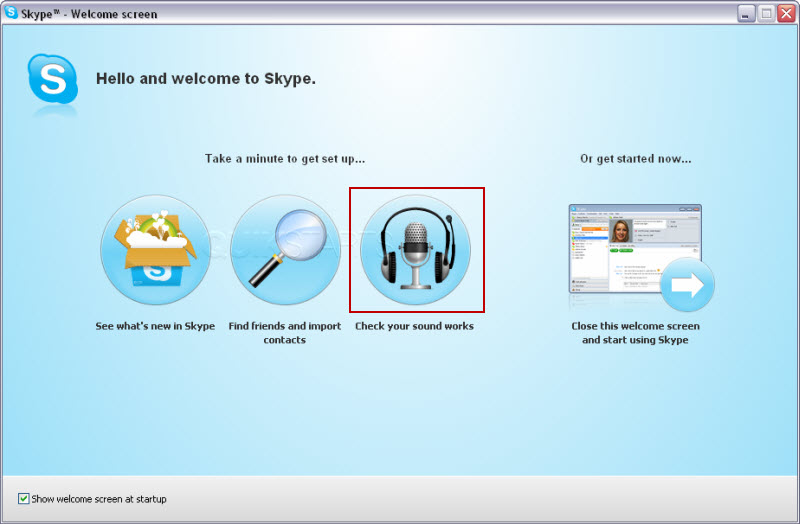
Click the "check your sound works" option to configure your microphone, speakers, and web cam.
4
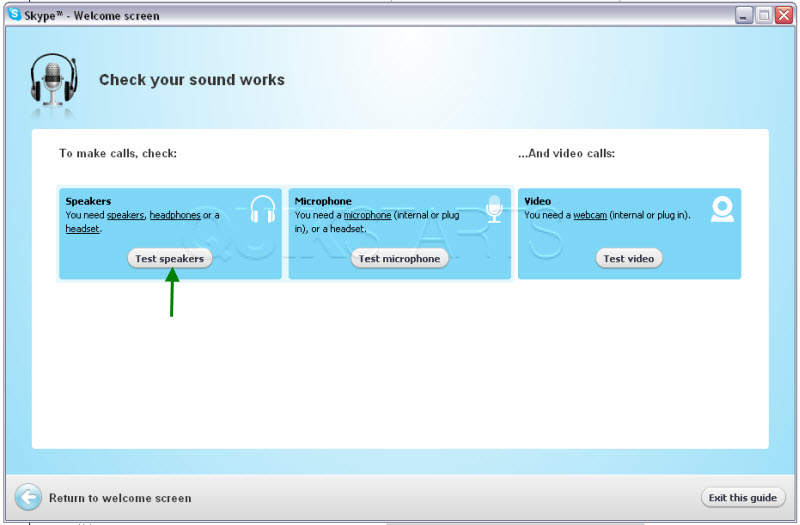
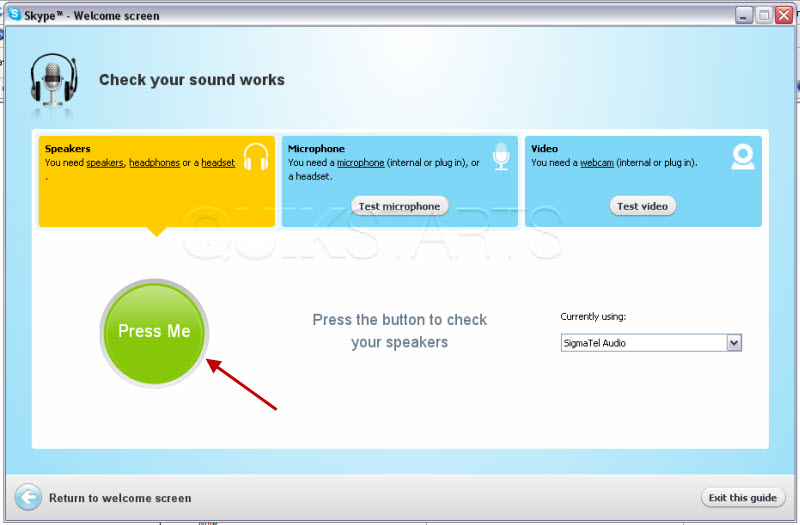
Click the "Test Speakers" button.
5
Press the very large "Press me" button and listen for a sound to be played through your speakers.
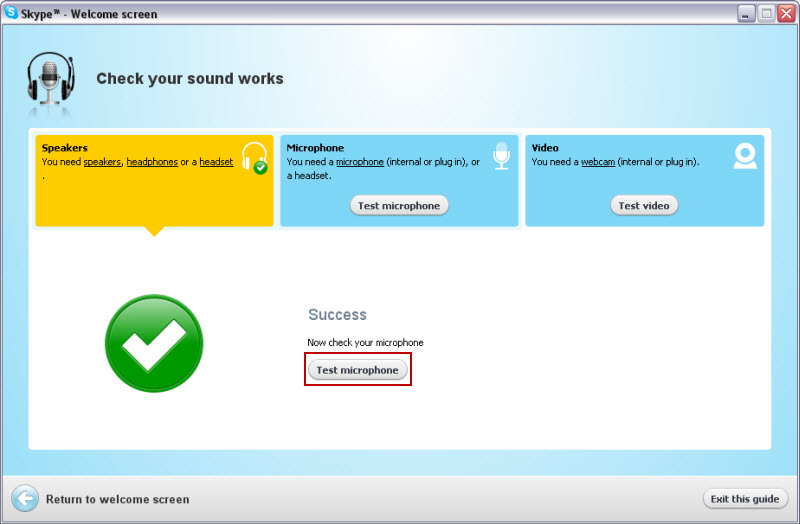
6
If you heard the sound press the "Yes" button.
Note :
If you did not press the no button and follow the troubleshooting instructions.

7
Now, click the "Test Microphone" button.
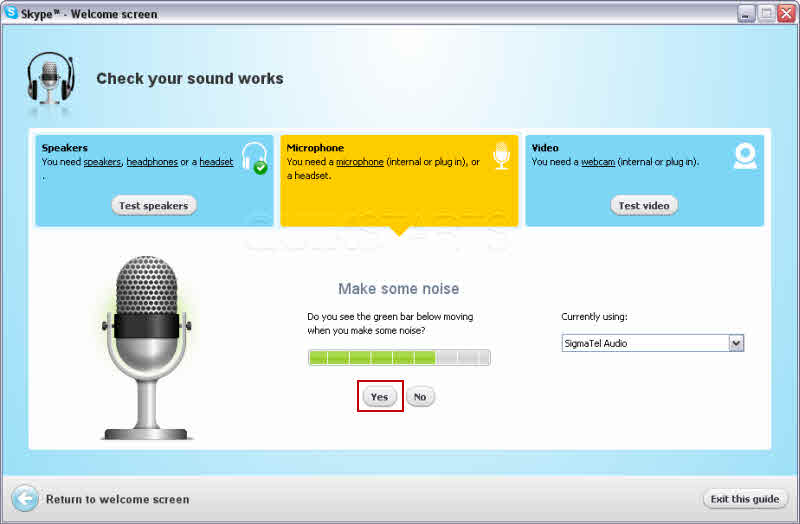
8
Make some noise and watch for the green bars movement. If it moves, press the "Yes" button.
Note :
If the green bar does not move press the no button and follow the troubleshooting instructions.
9
If you have a web camera connected to your computer then skip to step 12 if not click the "Make a test call" button.
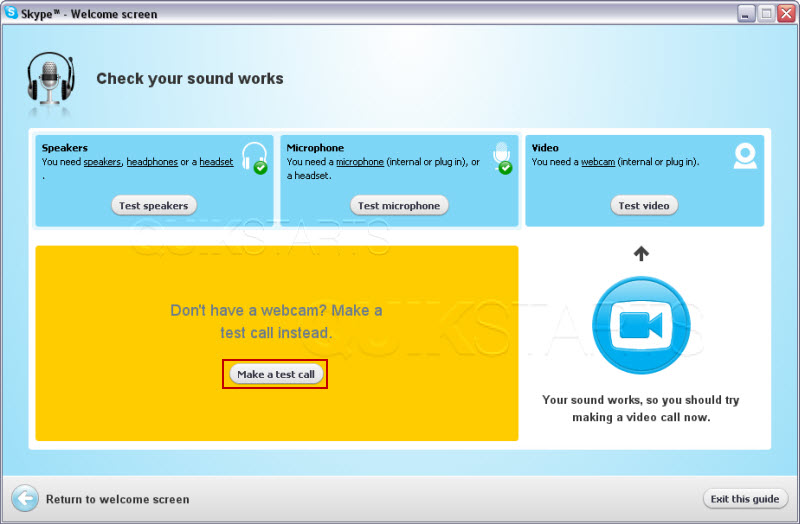
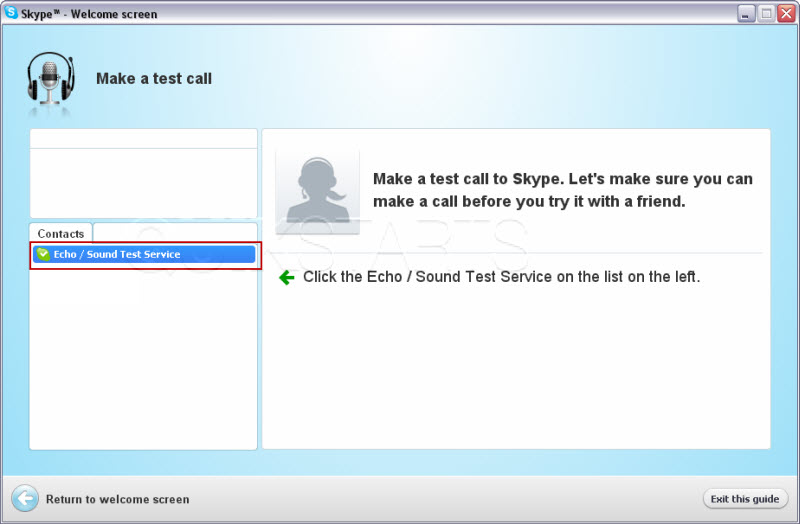
10
Single left click the "Echo" option in your contact list.
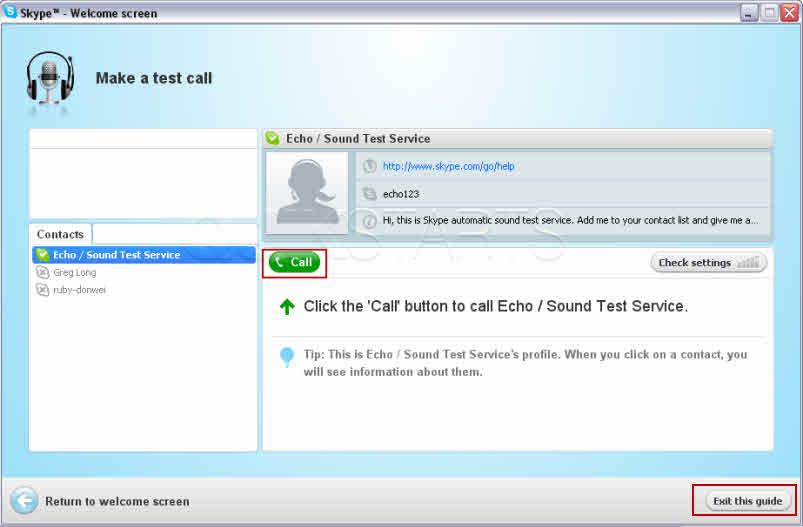
11
Click the call button to the right. You should be provided with instructions for making a test phone call using Skype to confirm it is working.
Note :
Click the "Exit this guide" button when the test call is completed.
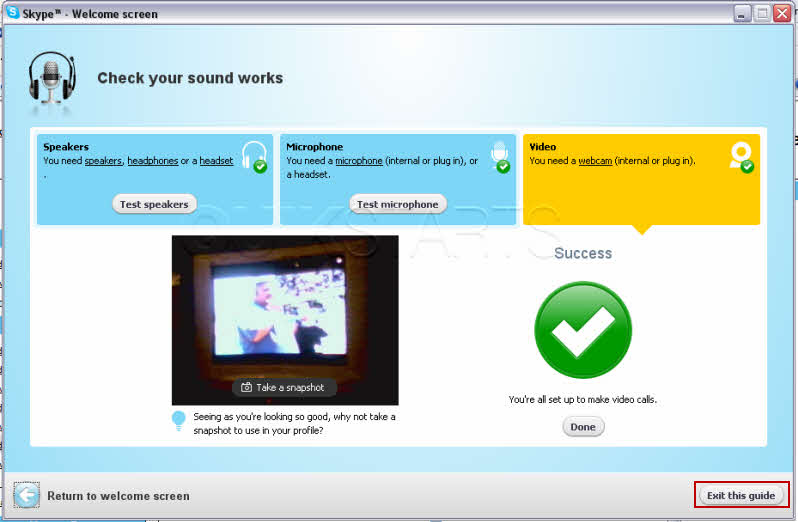
12
If you are planning to use a web cam and need to test it, click the "Test Video" button.
Note :
Make sure your web cam is plugged in first.
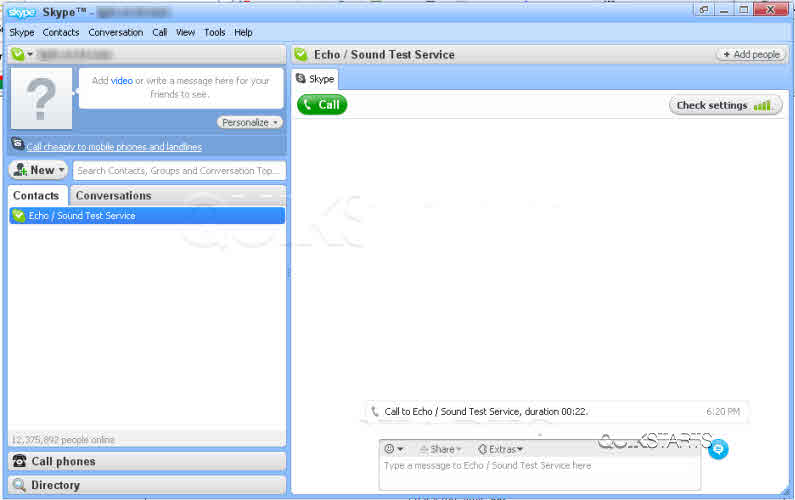
13
You Skype setup should now be complete, if not you should review these steps.
comments powered by Disqus
 Ask a question or provide an answer