This guide is part of the Screen capture series
1.
How to take a pageshot on a MacBook Air
2. How to take a screenshot
3. How to take a screenshot in Windows 7
4. How to take a screenshot in windows xp
5. How to take a screenshot in Word 2010
6. How to take a screenshot on a MacBook Air
7. How to take a screenshot on an iPad
2. How to take a screenshot
3. How to take a screenshot in Windows 7
4. How to take a screenshot in windows xp
5. How to take a screenshot in Word 2010
6. How to take a screenshot on a MacBook Air
7. How to take a screenshot on an iPad
Make: Apple
Model / Product: iPad
Version: 4.2
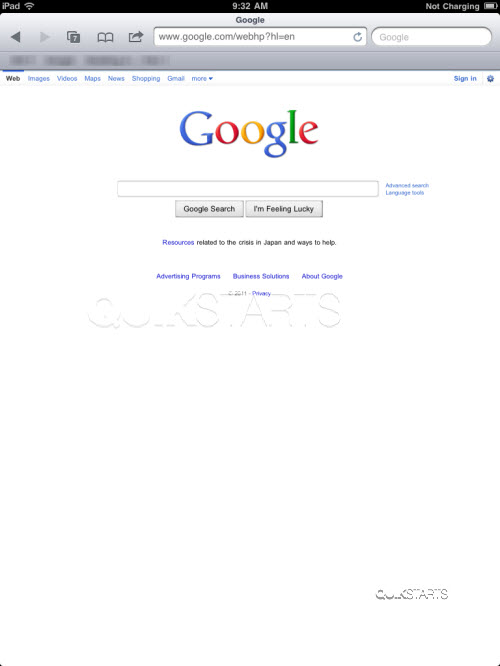
Objective / Info: Learn how to take a screenshot on an iPad and where to find it afterwards.
Model / Product: iPad
Version: 4.2
Objective / Info: Learn how to take a screenshot on an iPad and where to find it afterwards.
3
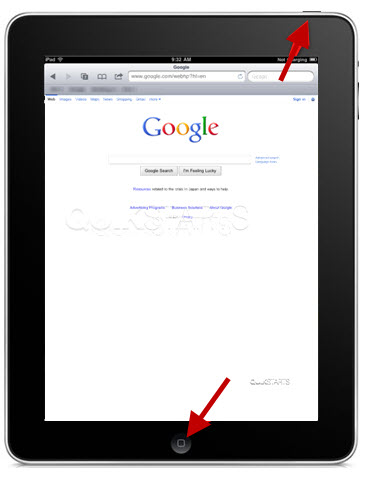
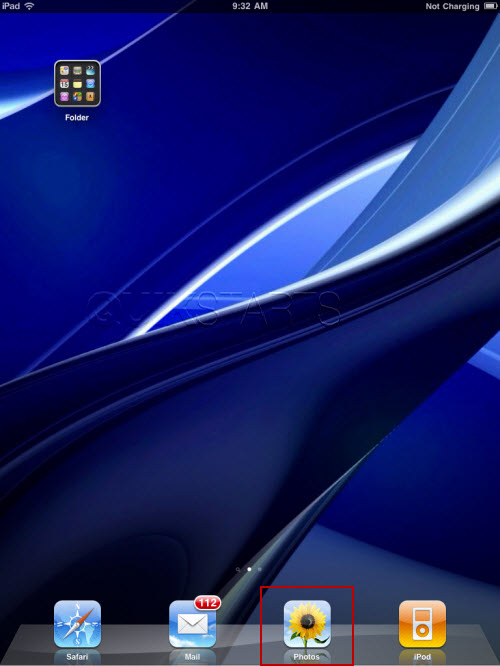
You should hear the sound of a camera taking a picture. The screenshot should have been taken.5
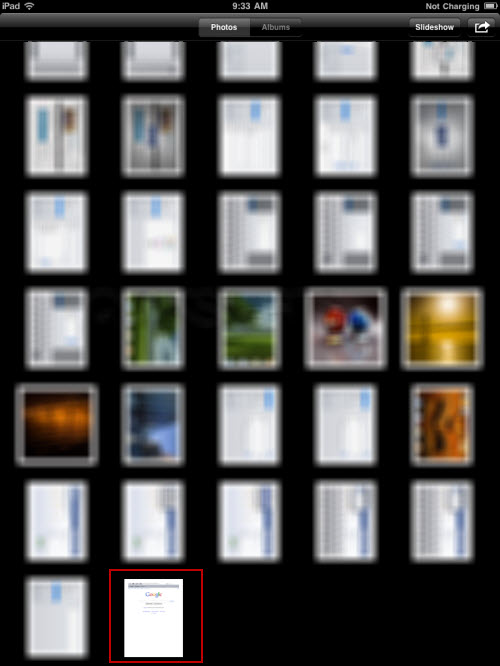
Your screenshot should appear in this folder. Note :
The most recent photos are added to the bottom of the list. If there are other photos, scroll to the end to find yours.
6
This task should now be complete. If not, review and repeat the steps as needed. Submit any questions using the section at the bottom of this page.comments powered by Disqus


