


This guide is part of the Screen capture series
1.
How to take a pageshot on a MacBook Air
2. How to take a screenshot
3. How to take a screenshot in Windows 7
4. How to take a screenshot in windows xp
5. How to take a screenshot in Word 2010
6. How to take a screenshot on a MacBook Air
7. How to take a screenshot on an iPad
2. How to take a screenshot
3. How to take a screenshot in Windows 7
4. How to take a screenshot in windows xp
5. How to take a screenshot in Word 2010
6. How to take a screenshot on a MacBook Air
7. How to take a screenshot on an iPad
Make: Microsoft
Model / Product: Word
Version: 2010
Objective / Info: Learn how to take a screenshot in Word 2010.
Model / Product: Word
Version: 2010
Objective / Info: Learn how to take a screenshot in Word 2010.
1
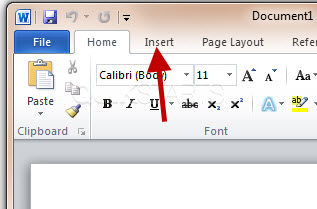
Open word by clicking the icon on the desktop of the start menu or opening an existing word document.
2
Click the "Insert" tab on the menu bar.
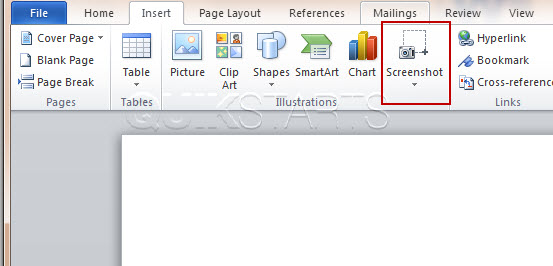
3
Click the "Screenshot" button.
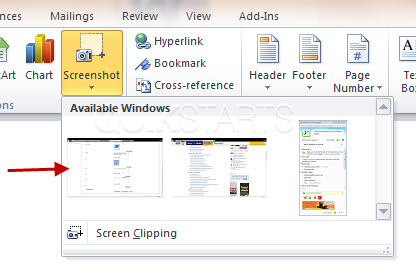
4
A dropdown menu should appear and may contain existing images.
Note :
These images in this box are taken from windows or applications that are also open and maximized on the computer behind word.
5
To capture a screenshot, click the "Screen clipping" option.
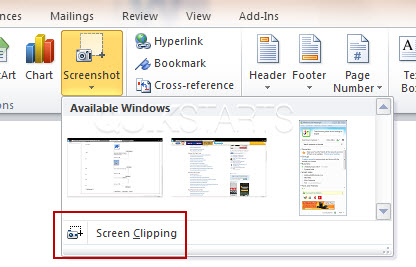
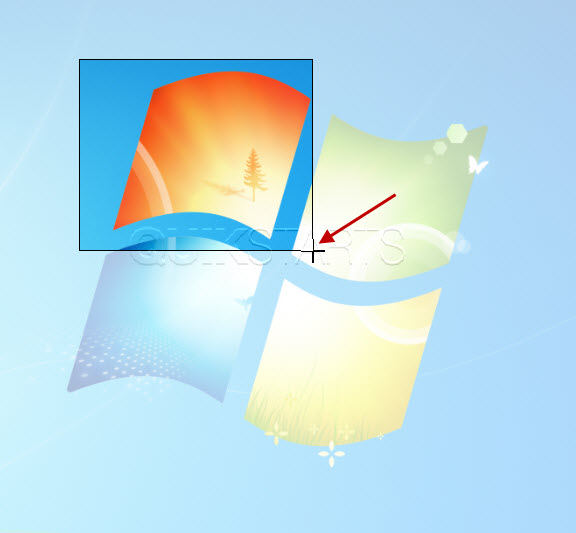
6
Word should minimize and a crosshair should appear. Click and drag from right to left to capture the portion of the screen that you wish to include in your screenshot.
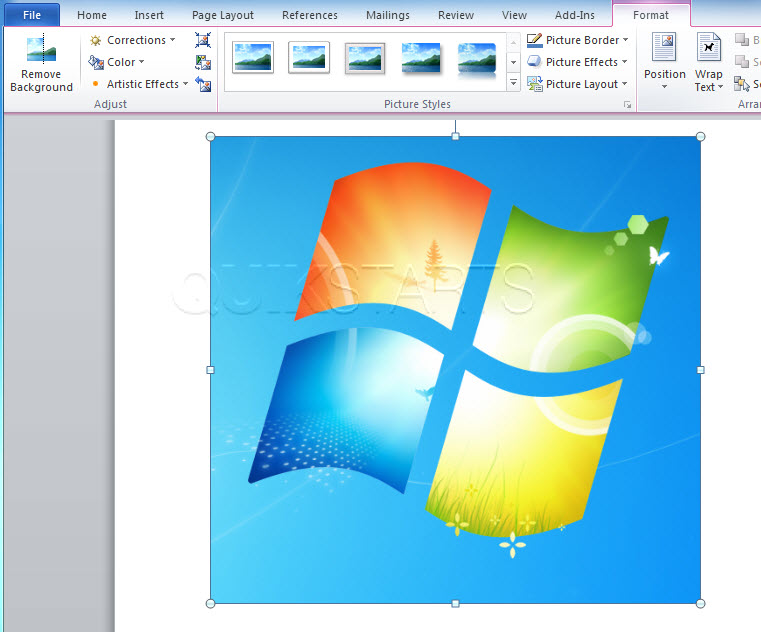
7
The screenshot should appear inside of word.
8
This task should now be complete. If not, review and repeat the steps as needed. Submit any questions using the section at the bottom of this page.comments powered by Disqus
 Ask a question or provide an answer