


This guide is part of the Screen capture series
1.
How to take a pageshot on a MacBook Air
2. How to take a screenshot
3. How to take a screenshot in Windows 7
4. How to take a screenshot in windows xp
5. How to take a screenshot in Word 2010
6. How to take a screenshot on a MacBook Air
7. How to take a screenshot on an iPad
2. How to take a screenshot
3. How to take a screenshot in Windows 7
4. How to take a screenshot in windows xp
5. How to take a screenshot in Word 2010
6. How to take a screenshot on a MacBook Air
7. How to take a screenshot on an iPad
Make: Apple
Model / Product: iPad
Version: 4.2
Objective / Info: Learn how to take a screenshot on an iPad and where to find it afterwards.
Model / Product: iPad
Version: 4.2
Objective / Info: Learn how to take a screenshot on an iPad and where to find it afterwards.
1
Browse to the application or screen that you want to take a screenshot of.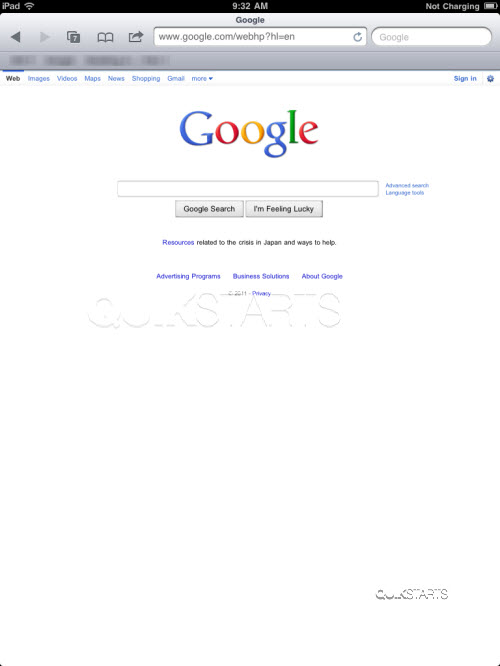
2
Press and hold the home button, then while holding, press the on/off button.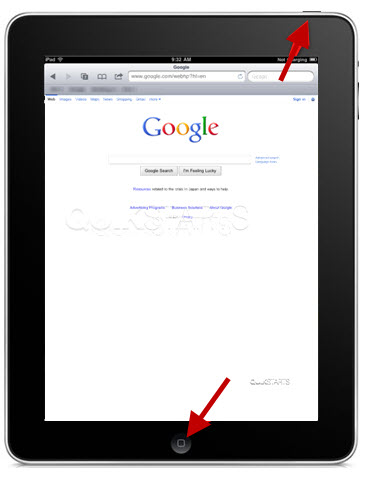
3
You should hear the sound of a camera taking a picture. The screenshot should have been taken.4
Tap the "Photos" icon on the home screen.
5
Your screenshot should appear in this folder. Note :
The most recent photos are added to the bottom of the list. If there are other photos, scroll to the end to find yours.

6
This task should now be complete. If not, review and repeat the steps as needed. Submit any questions using the section at the bottom of this page.comments powered by Disqus
 Ask a question or provide an answer