This guide is part of the Screen capture series
1.
How to take a pageshot on a MacBook Air
2. How to take a screenshot
3. How to take a screenshot in Windows 7
4. How to take a screenshot in windows xp
5. How to take a screenshot in Word 2010
6. How to take a screenshot on a MacBook Air
7. How to take a screenshot on an iPad
2. How to take a screenshot
3. How to take a screenshot in Windows 7
4. How to take a screenshot in windows xp
5. How to take a screenshot in Word 2010
6. How to take a screenshot on a MacBook Air
7. How to take a screenshot on an iPad
Make: Microsoft
Model / Product: Word
Version: 2010
Objective / Info: Learn how to take a screenshot in Word 2010.
Model / Product: Word
Version: 2010
Objective / Info: Learn how to take a screenshot in Word 2010.
1
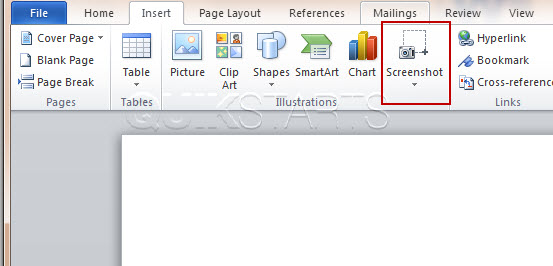
Open word by clicking the icon on the desktop of the start menu or opening an existing word document.4
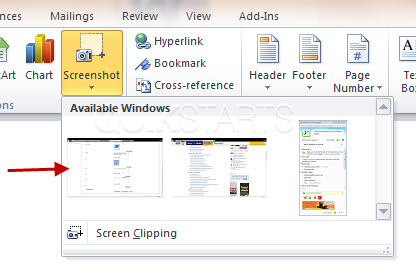
A dropdown menu should appear and may contain existing images.
Note :
These images in this box are taken from windows or applications that are also open and maximized on the computer behind word.
6
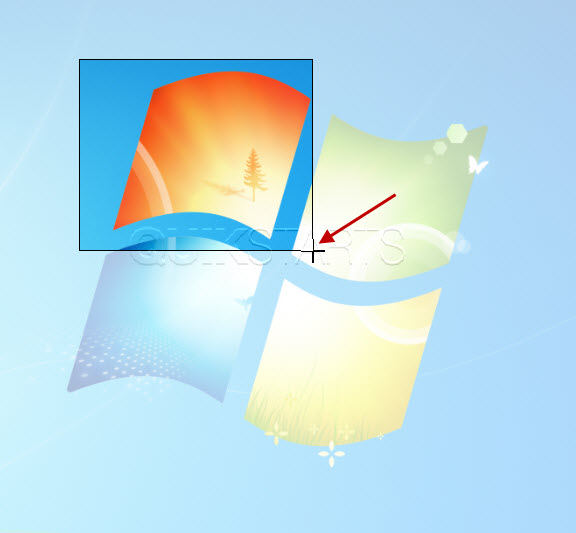
Word should minimize and a crosshair should appear. Click and drag from right to left to capture the portion of the screen that you wish to include in your screenshot.
8
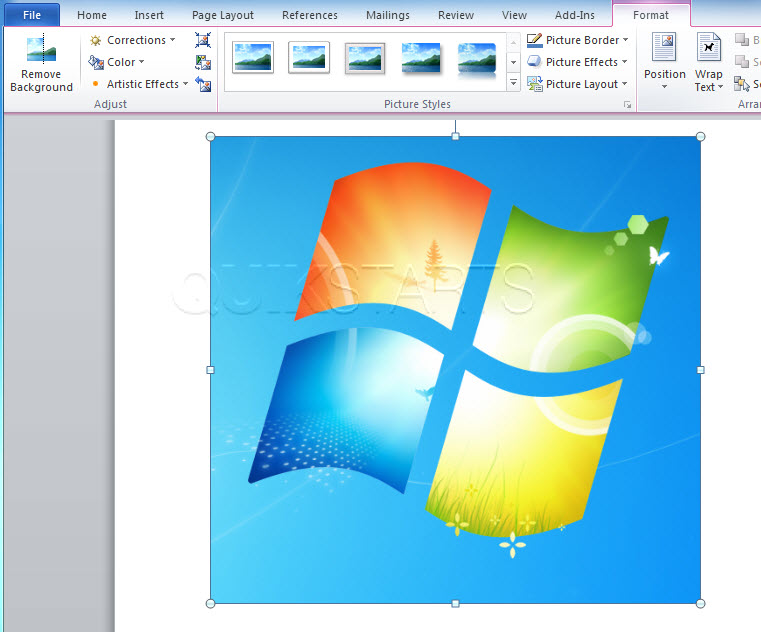
This task should now be complete. If not, review and repeat the steps as needed. Submit any questions using the section at the bottom of this page.comments powered by Disqus


