


This guide is part of the Acronis True Image Home 2010 series
1.
How to create a boot CD with Acronis Media Builder
2. How to make an image of a hard drive with Acronis
3. How to use Acronis True Image Home
4. Recover an image of a hard drive with Acronis
2. How to make an image of a hard drive with Acronis
3. How to use Acronis True Image Home
4. Recover an image of a hard drive with Acronis
Make: Acronis
Model / Product: True Image Home
Version: 2010
Objective / Info: Make an image of a laptop hard drive and deploy that image onto a new hard drive.
Model / Product: True Image Home
Version: 2010
Objective / Info: Make an image of a laptop hard drive and deploy that image onto a new hard drive.
1
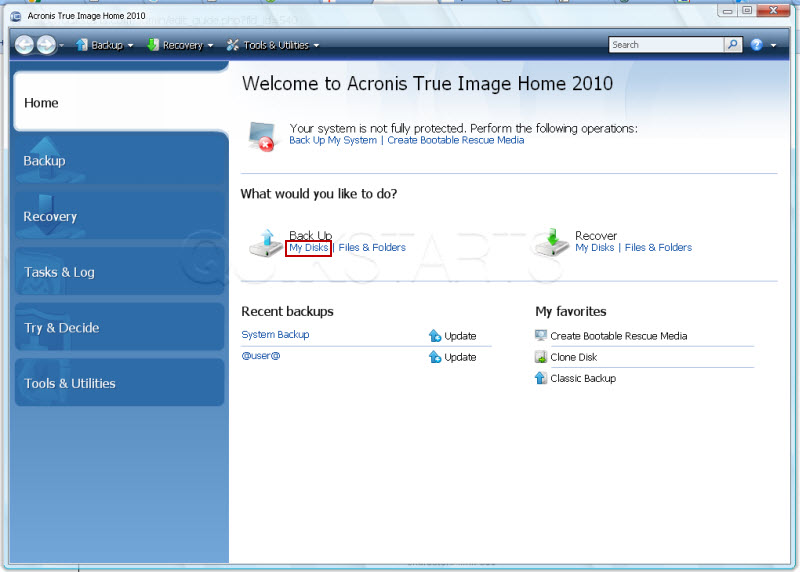
Open Acronis by selecting icon from your start menu or by clicking it on your desktop.
2
Click the "My Disk" link on the main interface page.
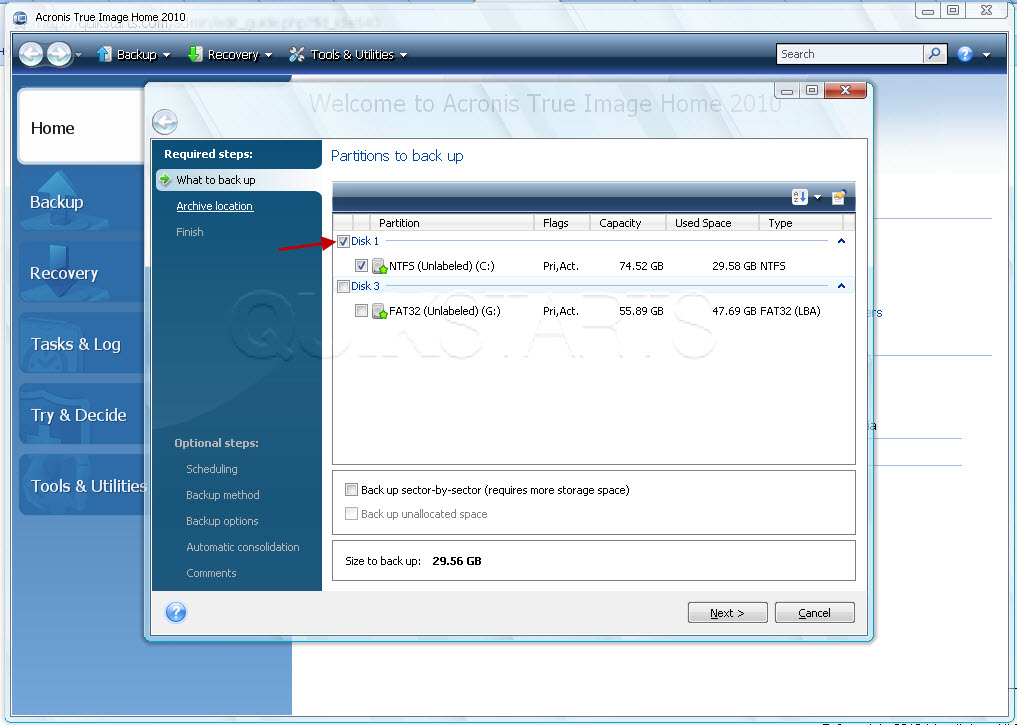
3
Place a check mark in the box next to the drive that you want to make an image of.
Note :
Multiple drives may appear depending upon the number or partitions or external hard drives connected. As in this example.
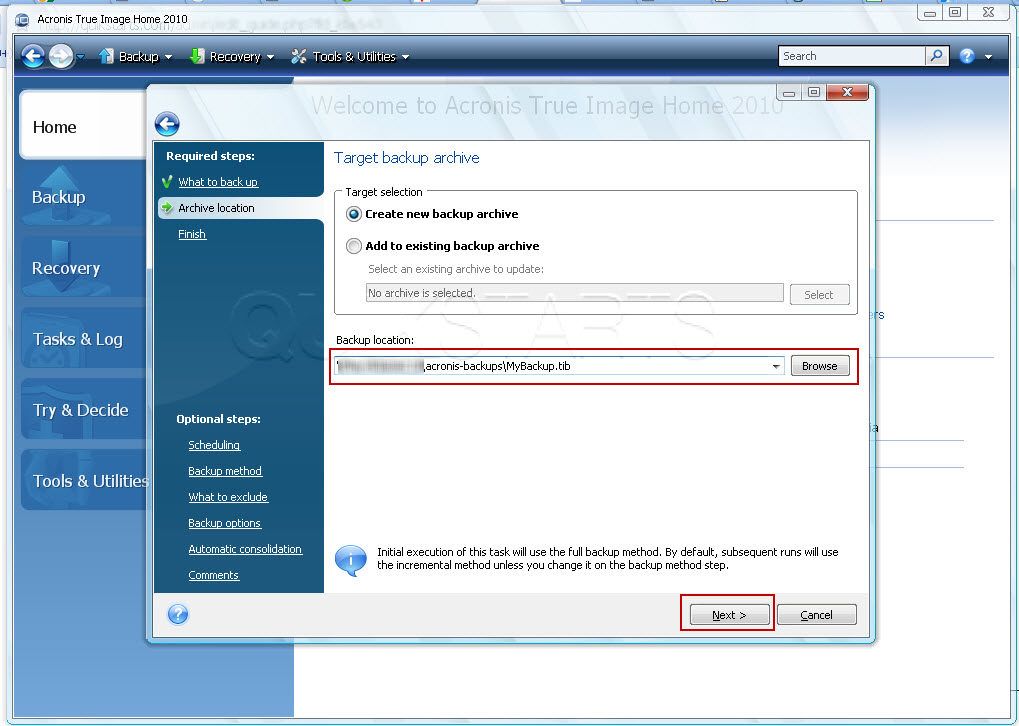
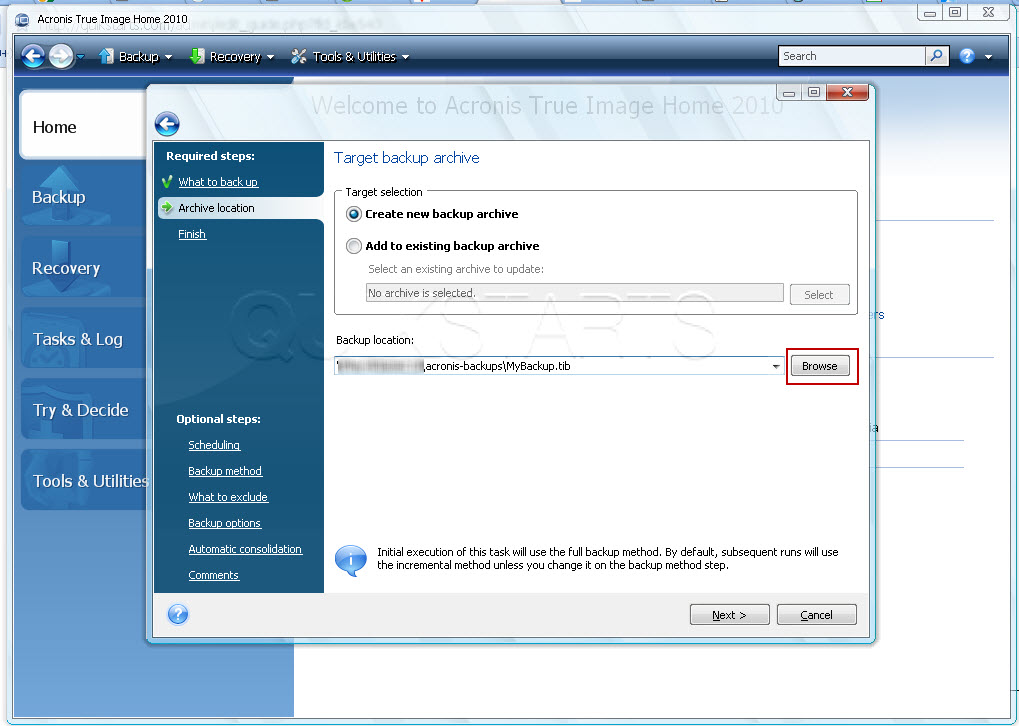
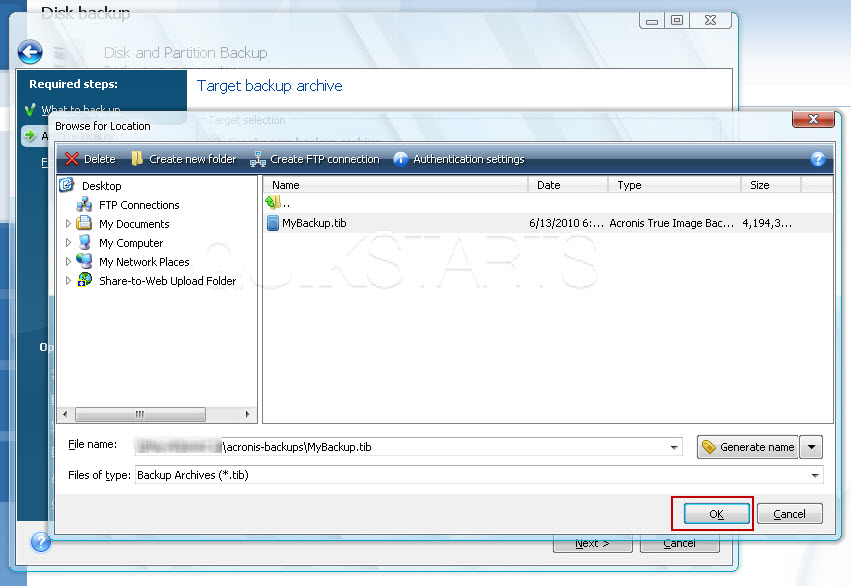
4
Select the path where you want the image to be saved. Leave everything else at its default. Then click next.
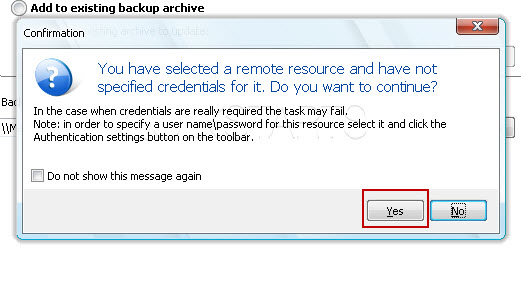
5
If you receive this pop-up, click yes and then go to step 6. If you do do not, then go to step 11.
Note :
This may occur when you are saving the image to a drive on a network.
6
To add your credentials (user name and password) to the network drive, click the "browse" button next to the path.
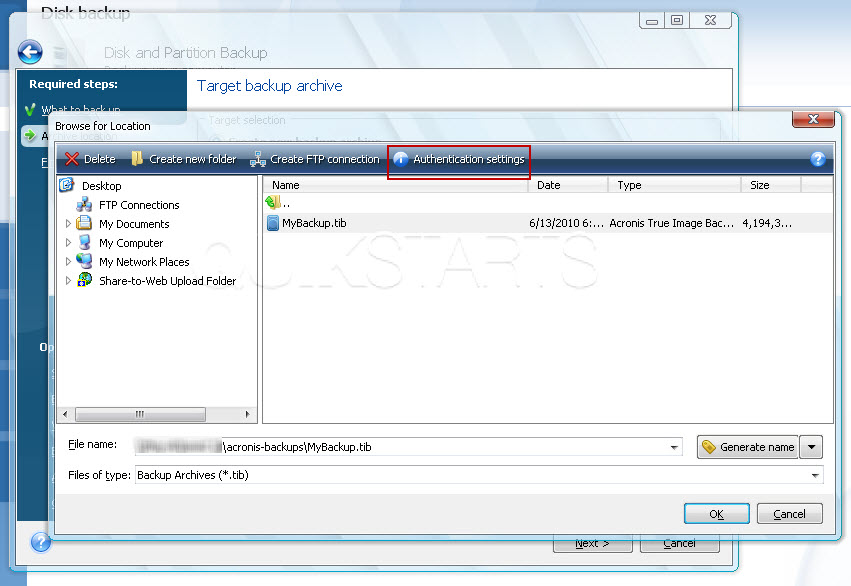
7
Click the "Authentication Settings" button at the top of the tool bar.
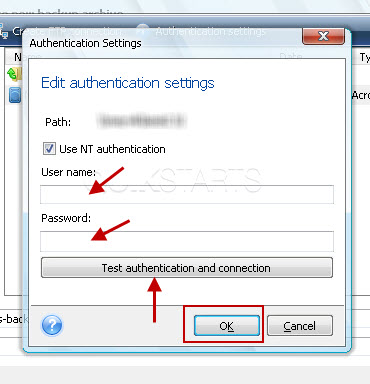
8
Add you user name and password that you use to test the connectivity to this network resource Click OK. Note :
Click the "Test Authentication and connection" to test the connectivity to the network resource.
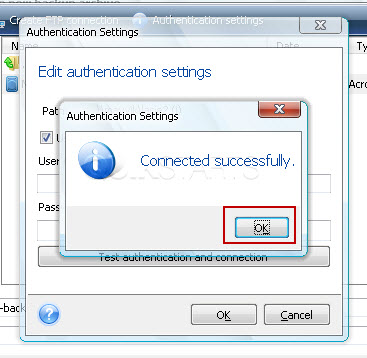
9
Click OK again.
Note :
If your test failed, check and re enter you user name and password again.
10
Click OK.
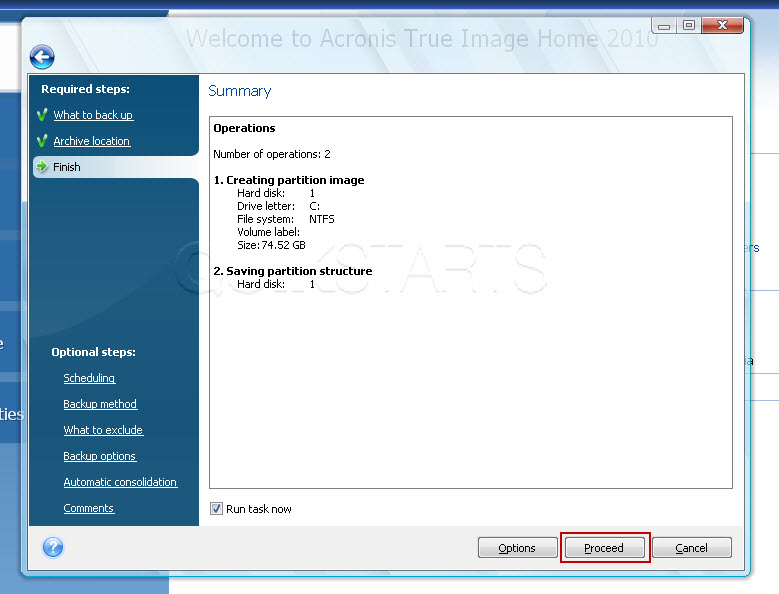
11
Review whats about to be imaged and click the "Proceed" button.
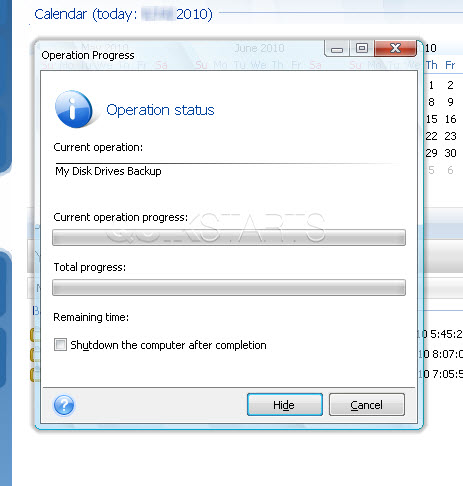
12
You should see a screen similar to this one. Note :
After s short time, time estimates until completion should be displayed.
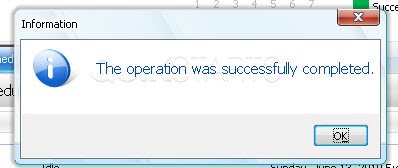
13
Click OK after the operation is completed.
14
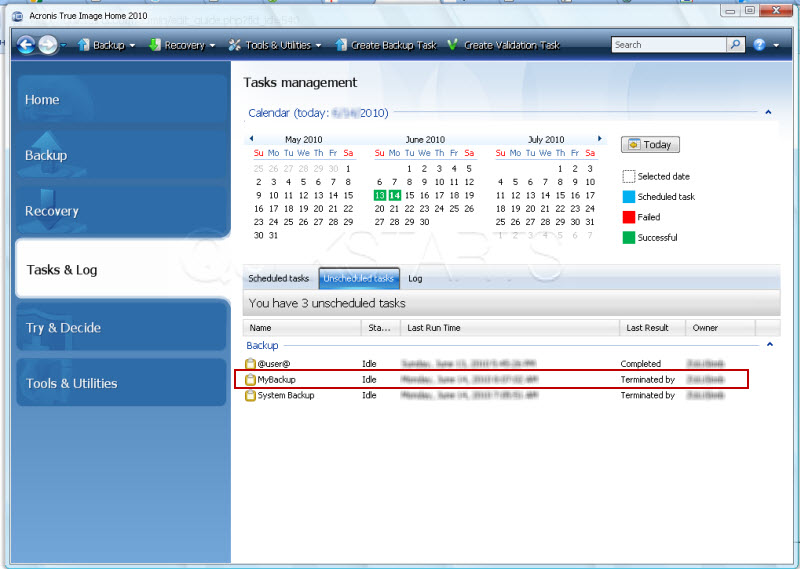
Your image data should show on a list with any other images that you made previously.
Note :
Some data was blurred intentionally.
comments powered by Disqus
 Ask a question or provide an answer