


This guide is part of the Google app inventor series
1. How to create a simple app in app inventor
2. How to setup your pc for google app inventor
3. How to setup your phone for google app inventor
4. How to use google app inventor
2. How to setup your pc for google app inventor
3. How to setup your phone for google app inventor
4. How to use google app inventor
Make: app inventor
Model / Product: App Inventor
Version: Beta
Objective / Info: Use App Inventor to build an Android app and run it on the phone while connected, using the Chrome browser. Prerequisite: App inventor, services.google.com
Model / Product: App Inventor
Version: Beta
Objective / Info: Use App Inventor to build an Android app and run it on the phone while connected, using the Chrome browser. Prerequisite: App inventor, services.google.com
1
Visit http://appinventor.googlelabs.com/ode/Ya.html to access app inventor.

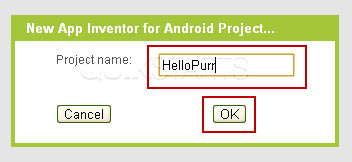
2
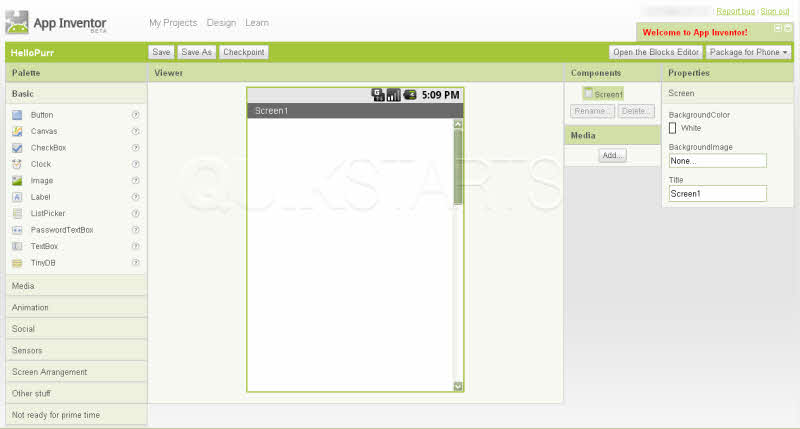
Type in "HelloPurr" and click the "ok" button.
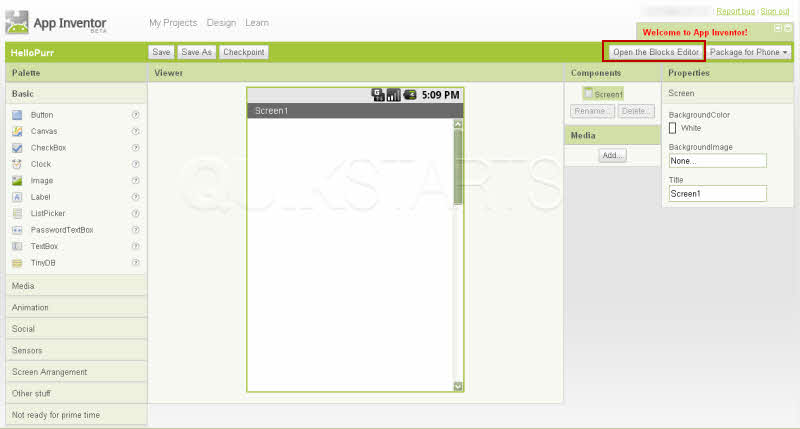
3
Click the "Open the Blocks Editor" button.
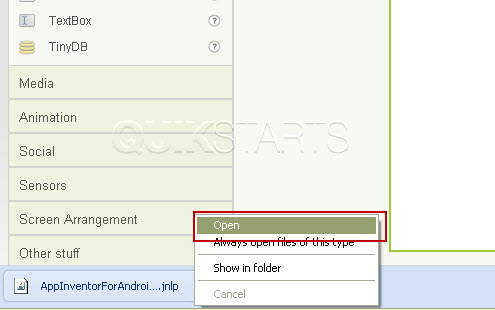
4
Click the arrow next to the downloaded file and click open.
Note :
If Chrome is set to ask where every file should be downloaded, you wont see this. You should see a window asking you to select a location to save the file. Double click the file after you save it.
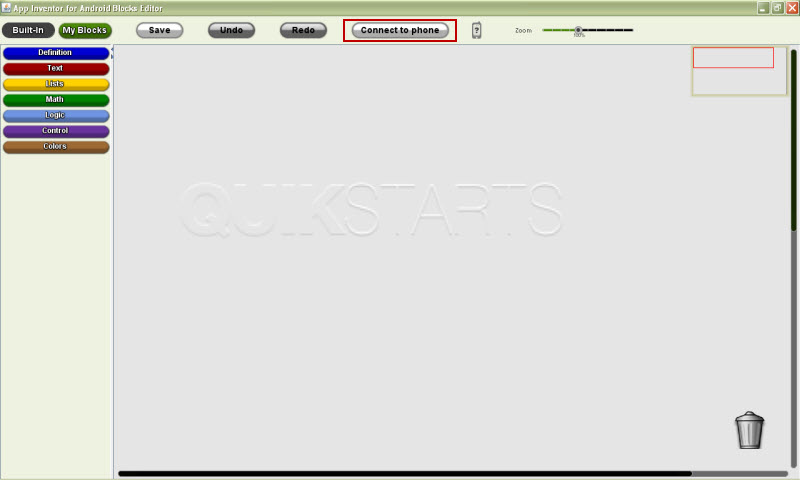
5
The editor should begin to load. Connect your phone via the usb cable to the computer.

6
After the Block Editor opens, click the "Connect to Phone" button. It may take several seconds to connect to the phone.
Note :
We noticed that when multiple notifications were available, the screen on the phone would not display the app inventor. After clearing them, the screen on the phone changed correctly.
7
Return to the window referenced in step 3.
Note :
From this point forward, anything added in the app inventor browser window, should also appear on the mobile phone screen.
8
Go to the Palette on the left and click and drag the "Label " button to the screen on the right.

9
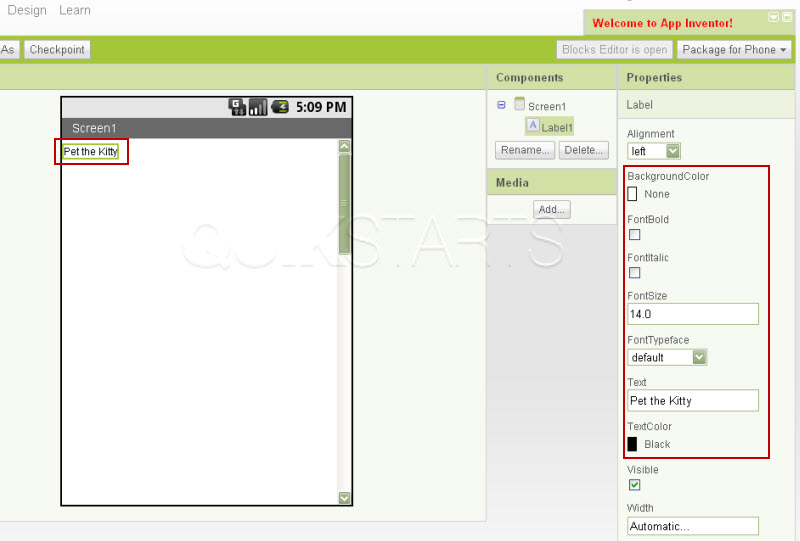
In the properties column on the right, locate the field labeled "Text". Type in "Pet the Kitty", then press the enter key on your keyboard. The text within the label should change to reflect.

10
In the properties column on the right, you also have the option of changing the background color, the color of the text and the font size. In this example we changed all three.
11
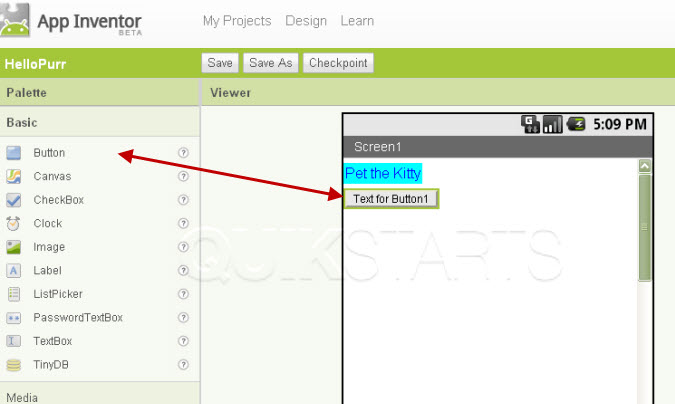
Go to the Palette on the left and click and drag the "Button" button to the screen on the right.
12
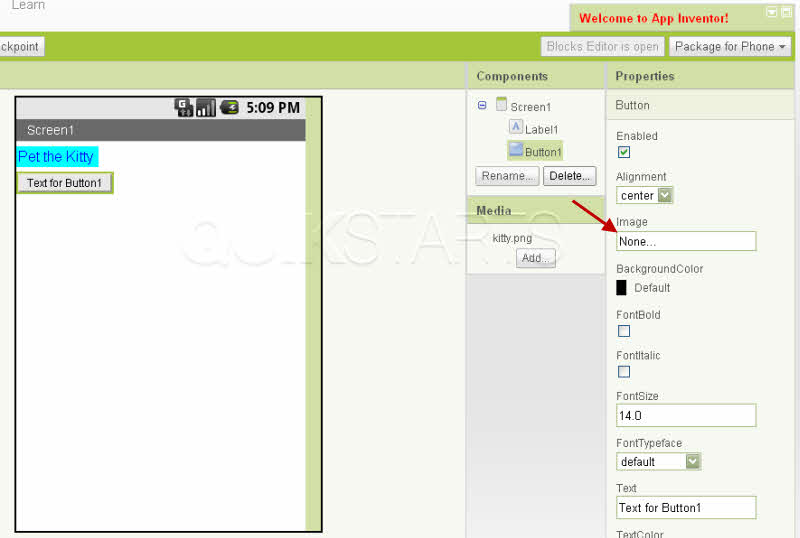
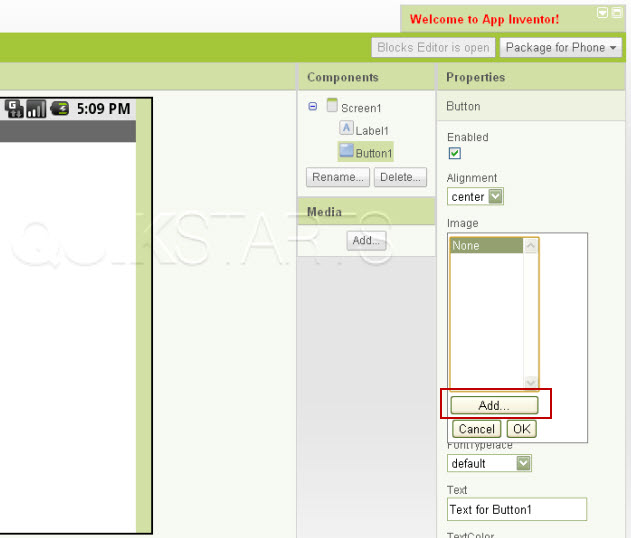
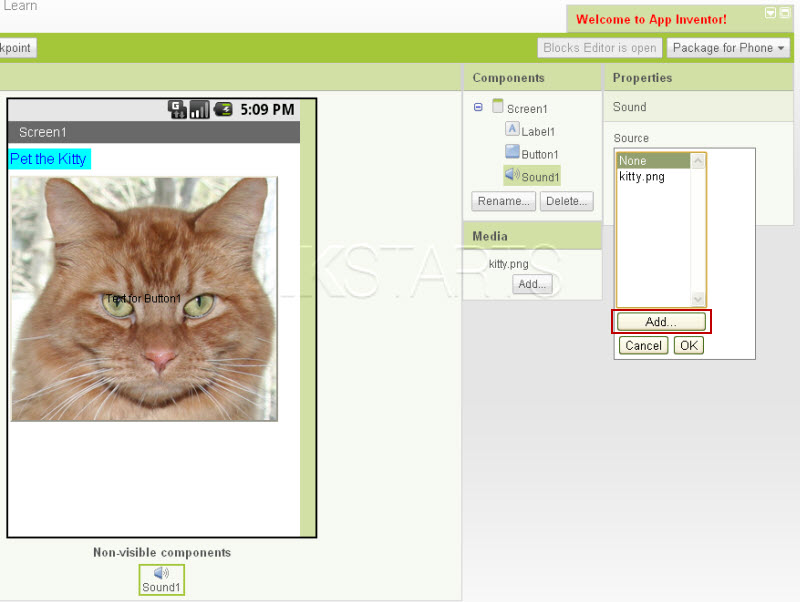
The properties should be showing the properties of the button.In the Properties box, click on the area after Image and a box should appear with a button marked "Add."
Note :
If you don't see the properties, click on the button in the Viewer to expose the button's properties.
13
Click the add button and then browse for a photo on your local computer using the upload pop up window.
14
After you have selected an image, it should appear on the screen of the phone and in app inventor.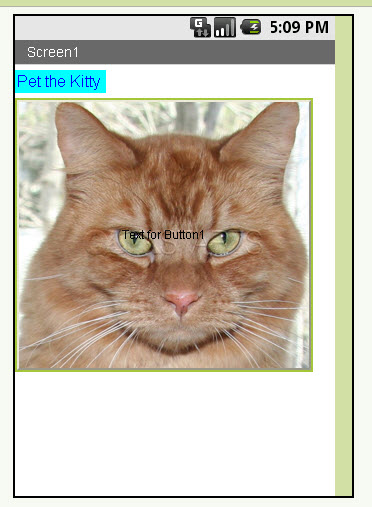
15
Now its time to add sound. Goto the left menu and click and expand the "Media" button.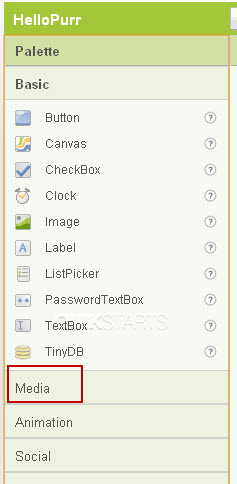
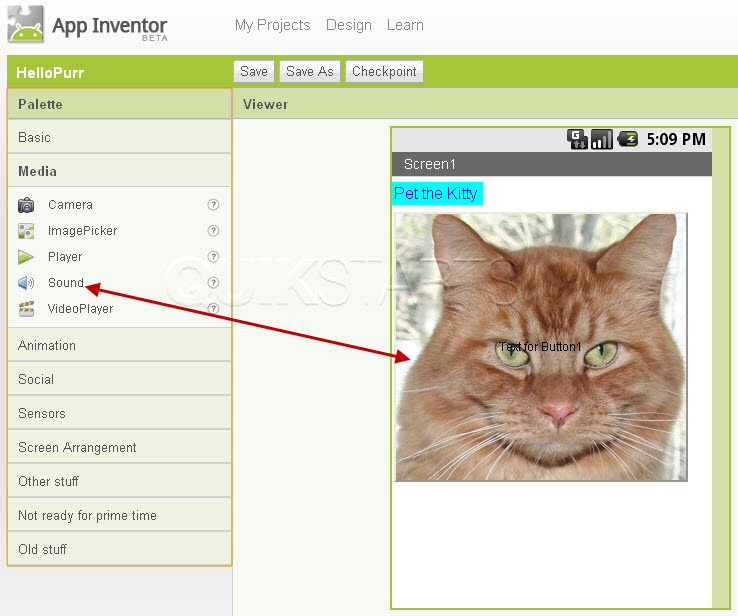
16
Click and Drag the "Sound" item onto the stage and drop it anywhere.
Note :
The sound item will center itself at the bottom of the screen regardless of where you drop it.
17
Make sure the sound item is selected. View the properties on the right in the field beneath "Source" and click in the field to browse for a sound file just as you did for the image in step 13.
18
Bring the "Blocks Editor" window back into focus and click the "My Blocks" option.
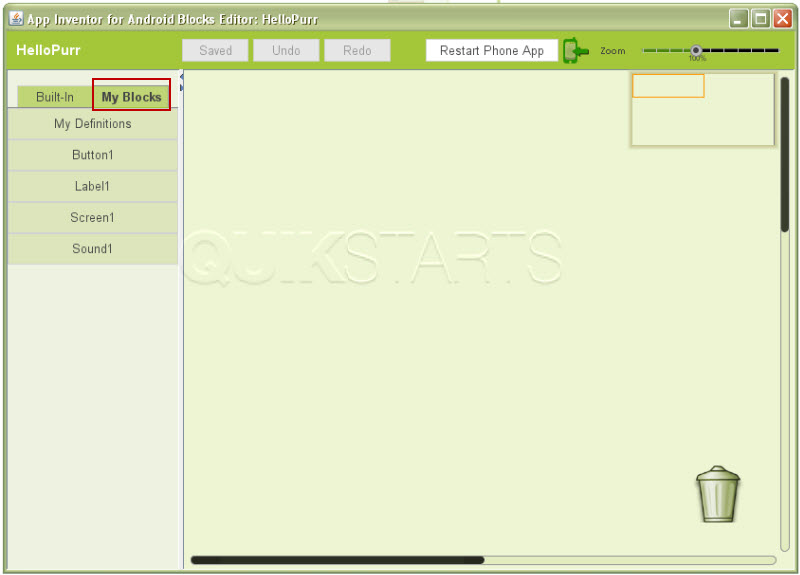
19
Click the "Button1" option and then click the first component "When Button1.Click" once to bring it to the stage of the block editor.

20
Click on "Sound1" to open the drawer for the sound component, and drag out the call "Sound1.Play" block, fitting it into the gap marked do in the when Button1.Click block. Note :The two blocks should snap together to form one piece, and you should hear a snapping sound.
21
Click the "Save" button in the Block Editor. This task should now be complete. If not, review and repeat the steps as needed. Submit any questions using the section at the bottom of this page. Note :See the guide "Create a standalone with App Inventor" to run this app without being connected to App Inventor.
comments powered by Disqus
 Ask a question or provide an answer