


This guide is part of the Microsoft Outlook 2010 series
1.
How to add a category in Outlook 2010
2. How to add a link to an email in outlook 2010
3. How to add a read receipt in Outlook 2010
4. How to add a signature in Outlook 2010
5. How to add an attachment to Outlook 2010
6. How to archive emails in Outlook 2010
7. How to back up Outlook 2010
8. How to create folders in Outlook 2010
9. How to forward an email in Outlook 2010
10. How to print an email in Outlook 2010
Make: Microsoft
Model / Product: Outlook
Version: 2010
Objective / Info: Learn how to back up Outlook 2010.
Model / Product: Outlook
Version: 2010
Objective / Info: Learn how to back up Outlook 2010.
1
To begin with, open the application by clicking on Outlook 2010 icon on your desktop or from the Start menu.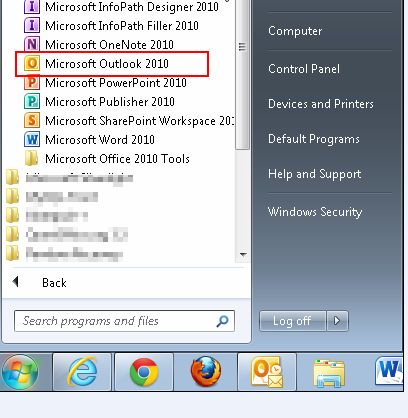
2
Click ‘Options’ under the ‘File’ tab.

3
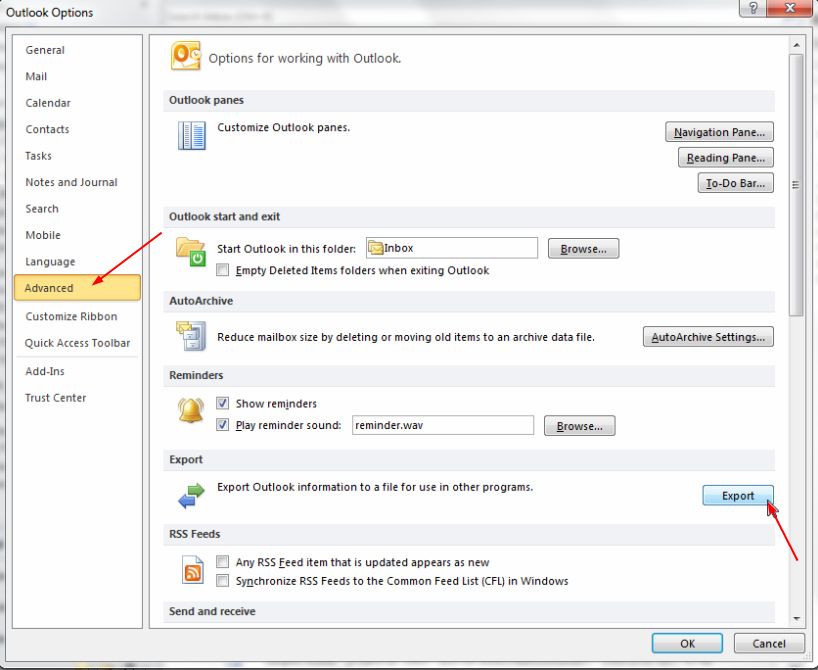
In the Outlook Options window, click ‘Advanced’ and then ‘Export’ as shown in the image below.
4
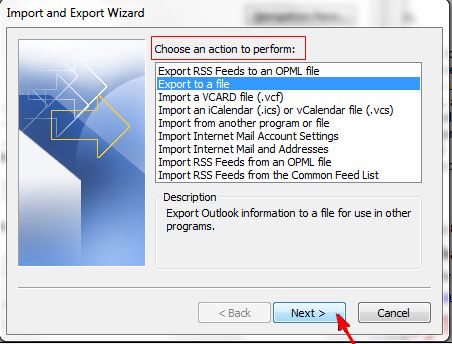
Import and Export Wizard will open. Click ‘Export to a file’ under the 'Choose an action to perform' box and then click ‘Next’.
5
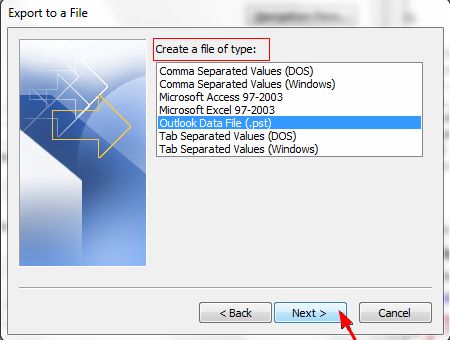
In ‘Create a file of type’ box, select ‘Outlook Data File (.pst)’. Click ‘Next’.
6
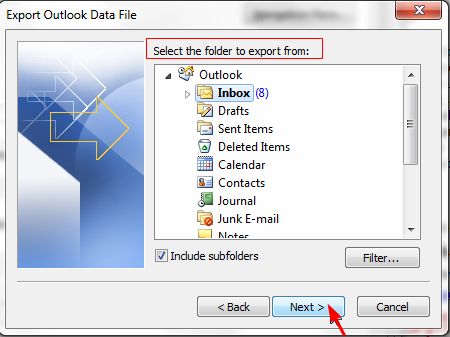
Now choose the folder you want the mails to be exported from under ‘Select the folder to export from’ box. Click ‘Next’.
7
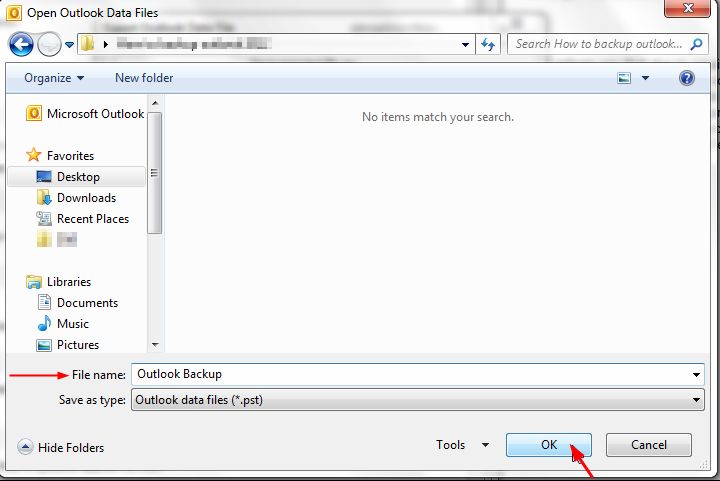
In the ‘Open Outlook Data Files’ dialog box, choose the file name you want the data to be exported to and click ‘Ok’.
8
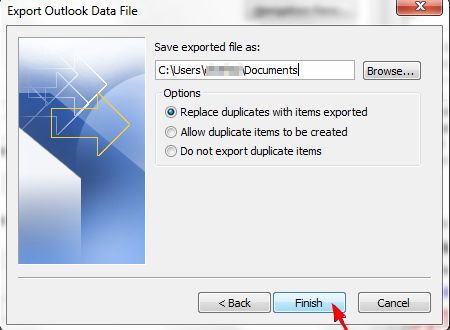
Click ‘Finish’ to finish the task.
9
This task should be complete. Review the steps if you had any issues and try again. Submit questions or request for more guides in the questions section below.comments powered by Disqus
 Ask a question or provide an answer