


This guide is part of the Windows 7 series
1.
Create a password for your windows 7 user account
2. Find your ip address from the windows 7 desktop
3. How to add a user account in windows 7
4. How to change a folders photo in windows 7
5. How to change screen resolution in Windows 7
6. How to find windows movie maker in windows 7
7. How to find your ip address in windows 7
8. How to find your Mac address on windows 7
9. How to recover data with windows 7 system restore
10. How to search for Excel files in Windows 7
Make: Microsoft
Model / Product: Windows
Version: 7
Objective / Info: Learn how to turn off the system restore feature in windows 7.
Model / Product: Windows
Version: 7
Objective / Info: Learn how to turn off the system restore feature in windows 7.
1
Goto the Start menu and left click.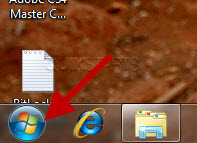
2
Right click on the "Computer" link.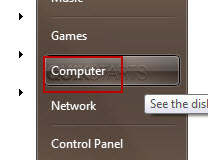
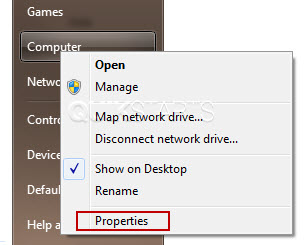
3
Left click on "properties."
4
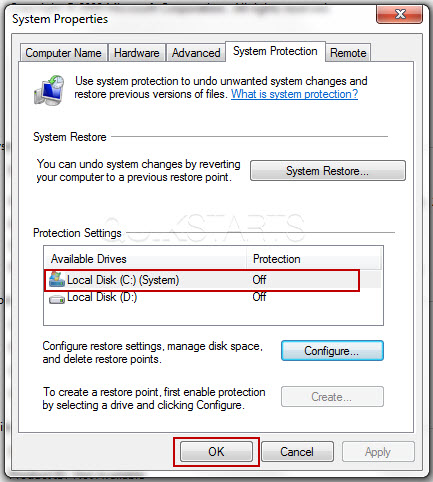
Left click on the "System Protection" link.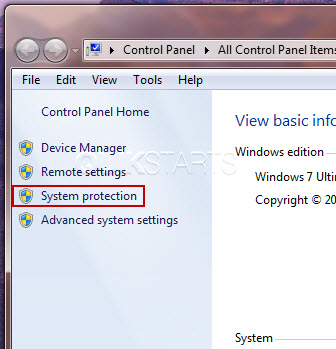
5
Select the drive that you want to deactivate restore for, then click "Configure" button. Note :
If the "protection" column indicates "Off" next to the drive, then system restore is already deactivate.

6
Select the radio button that says "Turn off system protection" and click the "Ok" button.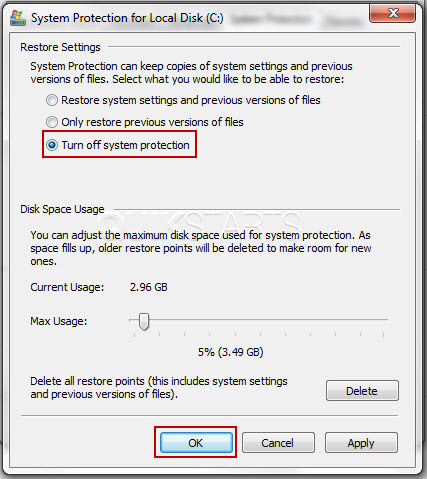
7
Read the pop up box and be sure that you want to turn off system restore. Click the "Ok" button.

8
The"protection" column should now indicate "Off" next to the drive, meaning system restore is now deactivate. Click the "Ok" button. Note :
You can close the remaining open windows.
9
This task should now be complete. If not, review and repeat the steps as needed. Submit any questions using the section at the bottom of this page.comments powered by Disqus
 Ask a question or provide an answer