


This guide is part of the Microsoft Outlook 2016 series
1. How to add a category in Outlook 2016
2. How to add a contact in Outlook 2016
3. How to add a link to an email an Outlook 2016
4. How to add a read receipt in Outlook 2016
5. How to add an attachment to Outlook 2016
6. How to add more options to the ribbon in Outlook
7. How to adjust reading pane in Outlook 2016
8. How to AutoArchive emails in Outlook 2016
9. How to create folders in Outlook 2016
10. How to delete groups of emails in Outlook 2016
Make: Microsoft
Model / Product: Outlook
Version: 2016
Objective / Info: Learn to add a category in Outlook 2016. Email can be placed in categories to help organize them.
Model / Product: Outlook
Version: 2016
Objective / Info: Learn to add a category in Outlook 2016. Email can be placed in categories to help organize them.
1
Open Outlook by clicking the icon on your desktop or start menu.
2
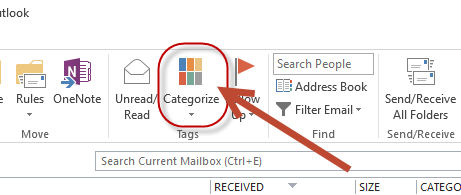
Click the "Categories" button on the right hand side of the top menu.
3
Scroll down and roll your mouse over the "Categories" option, then on the second menu that appears, scroll down and click "All Categories"
4
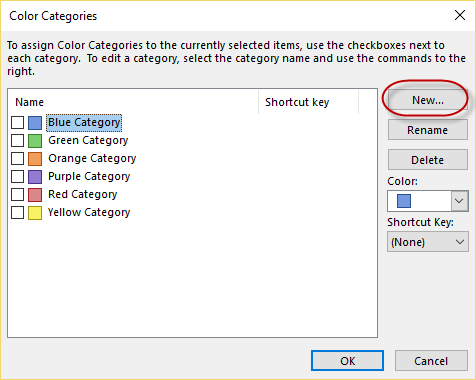
A new box should open. Click the "New" button.
5
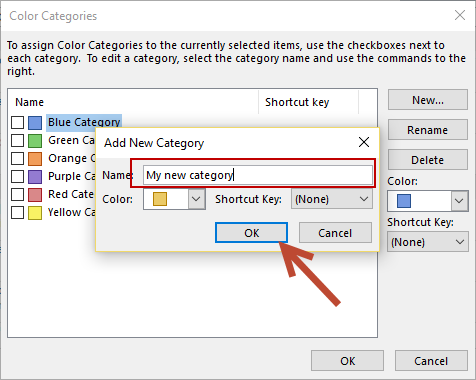
Another box should open. Type in the name of your category and click the "Ok" button.
6
The new category should appear on the list. Click the "Ok" button to exit the screen.
Note :
In this example, we named the category "my new category""

7
The new category should now also appear on the list seen in step 3.
8
This task should now be complete. If not, review and repeat the steps as needed. Submit any questions using the section at the bottom of this page.comments powered by Disqus
 Ask a question or provide an answer