


This guide is part of the Google Docs series
1.
Auto fit column width in Google docs spreadsheets
2. Change a date in a Google doc spreadsheet cell
3. Change the hyperlink color in a docs document
4. Change the slide speed in Google Docs presentation
5. Convert Google docs spreadsheet into a PDF file
6. Convert Google docs spreadsheet into an Excel file
7. Freeze top row when scrolling in Google Docs
8. How to add a bookmark in Google Docs
9. How to add a cell border in Google Sheets
10. How to add a column to a google docs spreadsheet
Make: Google
Model / Product: Docs
Version: N/A
Objective / Info: Learn how to insert a text box into a Google Docs document.
Model / Product: Docs
Version: N/A
Objective / Info: Learn how to insert a text box into a Google Docs document.
1
Launch Google Docs by clicking on the "Google apps" icon next to your avatar and click on the Google Docs icon.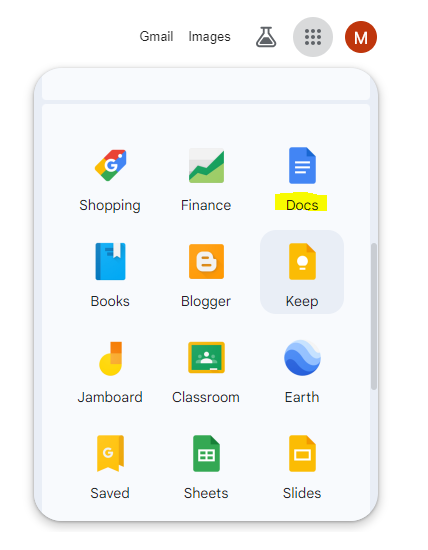
2
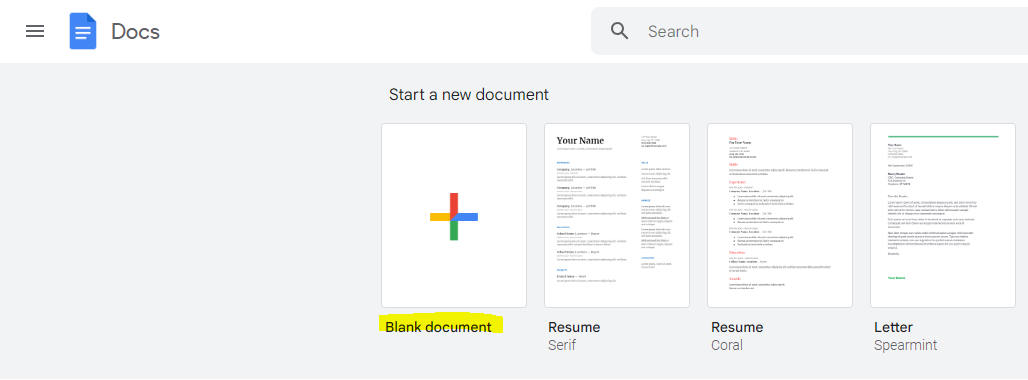
Create a new document by clicking on "Blank document".
Note :
Alternatively, you can select an already existing document that you want to add a text box to.
3
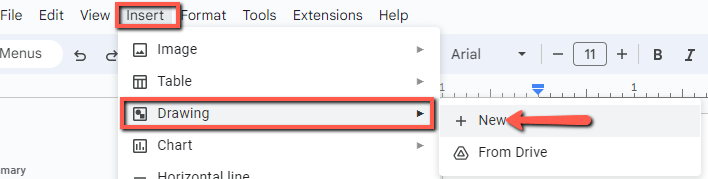
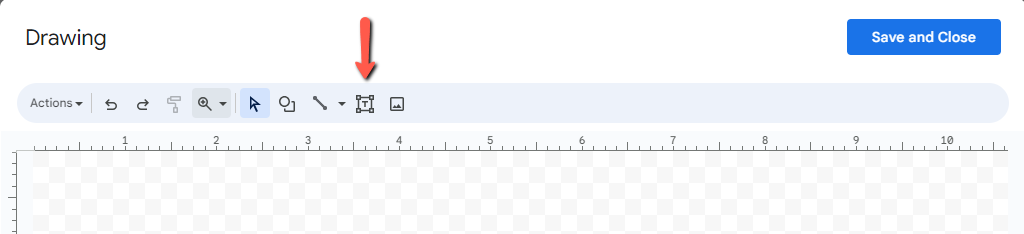
Inside the document, click on “Insert” in the top left and hover over “Drawing”, then click on “New”.
The “Drawing” dialog box should now appear in the center of the screen.
4
Click on the “Text Box” icon.
5
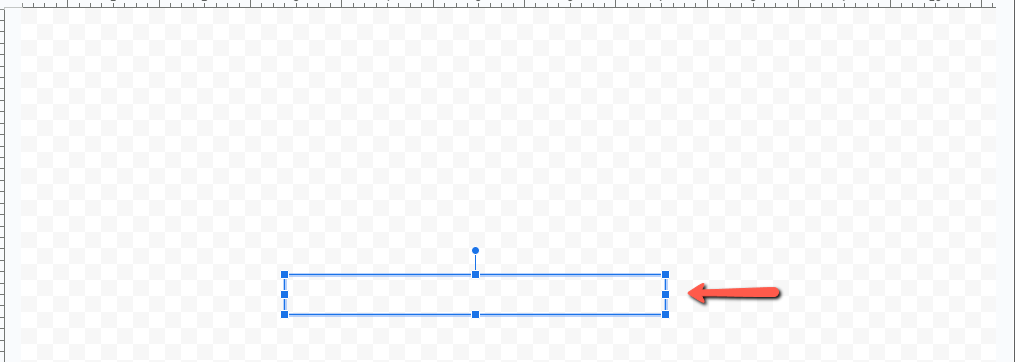
Click and drag inside the drawing area to create a text box which can be as big or small as you want it to be, then release your cursor.
Your text box should now appear.
6
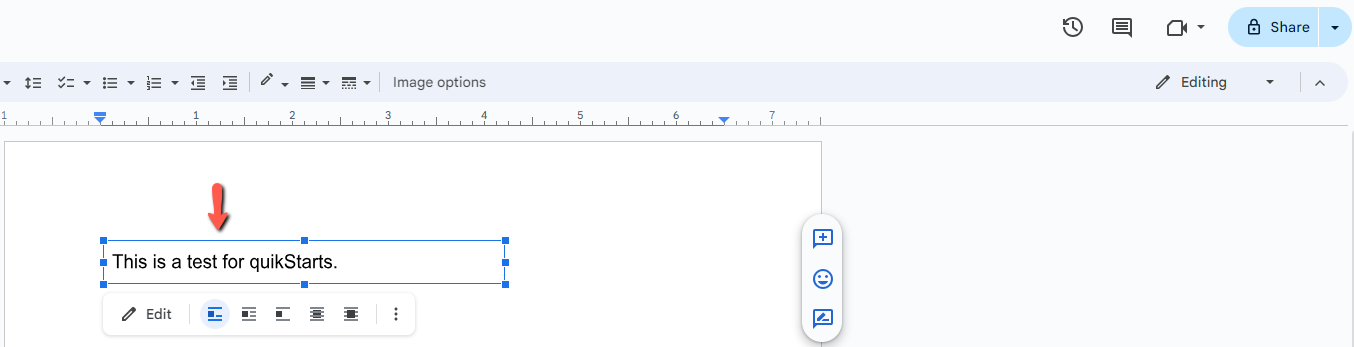
Enter any text of your choice inside the text box.

7
When you are finished, click the “Save and Close” button.

8
The text box should now appear in your document.
This task should be complete. Review the steps if you had any issues and try again. Submit questions or request for more guides in the questions section below.
comments powered by Disqus
 Ask a question or provide an answer