


This guide is part of the Google Docs series
1. Auto fit column width in Google docs spreadsheets
2. Change a date in a Google doc spreadsheet cell
3. Change the hyperlink color in a docs document
4. Change the slide speed in Google Docs presentation
5. Convert Google docs spreadsheet into a PDF file
6. Convert Google docs spreadsheet into an Excel file
7. Freeze top row when scrolling in Google Docs
8. How to add a bookmark in Google Docs
9. How to add a cell border in Google Sheets
10. How to add a column to a google docs spreadsheet
Make: Google
Model / Product: Docs
Version: Spreadsheet
Objective / Info: Add content to cells in a Google docs spreadsheet and auto fit the columns width to fit the content.
Model / Product: Docs
Version: Spreadsheet
Objective / Info: Add content to cells in a Google docs spreadsheet and auto fit the columns width to fit the content.
1
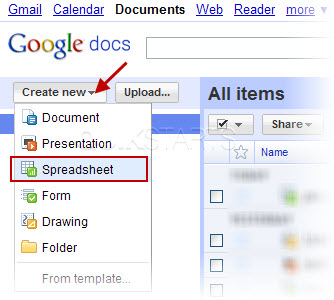
Launch Google Docs spreadsheet by visiting google.com, click the "more" menu otpion and select "Documents"

2
Select "spreadsheet" from the menu.
3
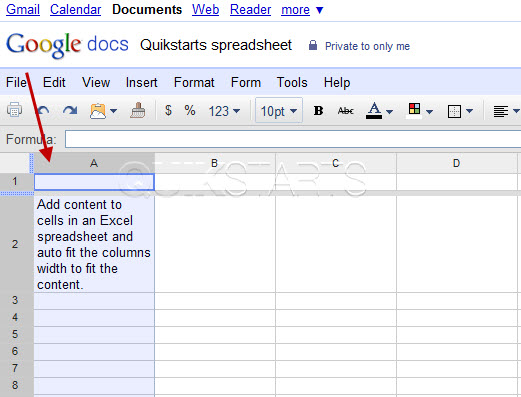
Row 2 has been populated with a long sentence. Notice that the sentence wraps around to fill the cell. Once we use the auto fit column width feature, the column will automatically adjust to display all of the contents in a single column and row.
4
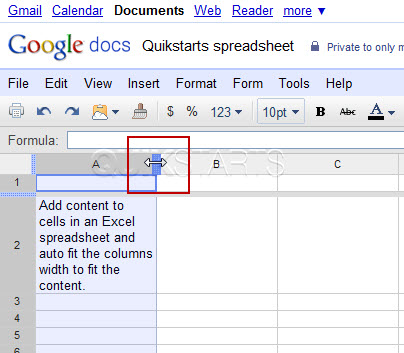
Roll your mouse over the column divider until the double sided arrow cursor appears and double click.
5
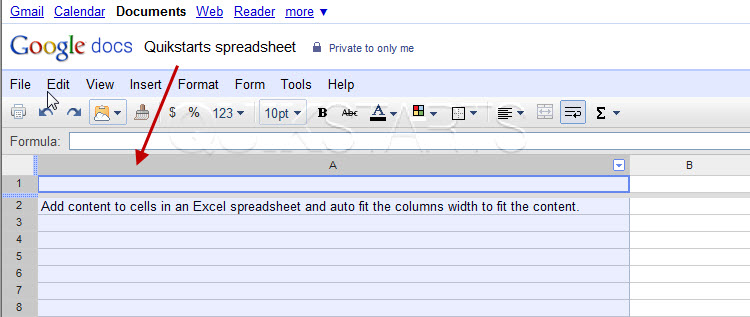
The column should have adjusted itself to fit perfectly around any content in the column
Note :
If there had been multiple rows of content, the column would have adjusted to the width of the widest cell.
6
This task should be complete. Review the steps if you had any issues and try again.Submit questions or request for more guides in the questions section below.comments powered by Disqus
 Ask a question or provide an answer